Article content
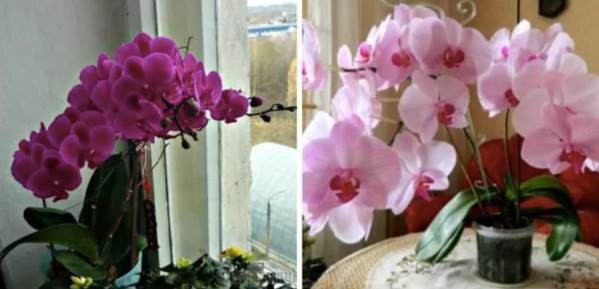
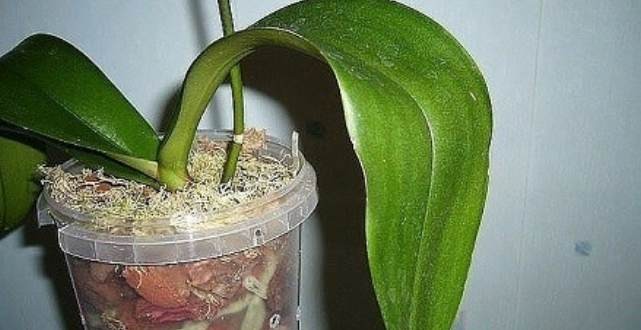
Has your orchid not been blooming for a long time, or is it doing poorly and quickly withering right before your eyes? The best way to help it is to remove it from the conditions it is currently in – the pot, the substrate – and give it a so-called radical cleaning . Not everyone knows how to handle an orchid correctly during this procedure. If you do it this way and mix a miracle substrate yourself (you won’t buy it in the store) , there’s no way it won’t work. I’ve verified it on each of my nine plants!
If the plant has been struggling for a long time, don’t expect that any fertilizers or stimulants will revive it. For example, putting it into a new special substrate, which will at the same time replace fertilizers and artificial nutrients
Step 1.
So remove the orchid carefully from the wrapping and place it in the sink. Be very careful not to break or damage the roots. The more developed the root system is, the more tightly the orchid will be locked in the wrapping. If necessary, rather carefully cut the wrapping and pull the plant out. If the plant comes out easily it may also be a sign that it has few roots and is weak.
Step 2
Carefully clean the roots and remove any remaining substrate. If the roots are tightly intertwined and cannot be untangled, pour a little room-temperature water into a bucket and immerse the roots for 10-20 minutes . However, do not immerse the rest of the plant, only the roots. Then the roots will come apart easily even with your fingers. Finally you can simply shower off the remaining substrate – but be careful with the strength of the water stream. Roots that absolutely cannot be loosened should be left as they are – do not force them . However, the rule is that the less old substrate remains on the plant, the better.

Step 3
Now you must carefully inspect the roots – this is the most important step. Rotten and dry roots must all be removed. If only part of a root is damaged, remove only that part. Always disinfect the scissors before cutting a root – the plant is most vulnerable through the roots. Finally treat the cut areas with activated charcoal or ground cinnamon.
Step 4
Focus on the leaves – if any are dry, remove them. Be very careful with the stem so you don’t damage healthy leaves and the stem itself. Also trim off the dry and old parts of the stem.
Step 5
Let the plant dry for about 2 hours . It can go into the pot no sooner than 2 hours. Before placing it in the pot make sure there is no water left in the leaves.
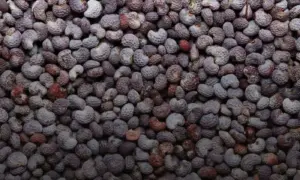
Step 6 – the substrate that will replace fertilizers and expensive store-bought nutrients
So the base is pine bark; you can use commonly sold mulch bark. I put the material in the oven at 50 degrees for an hour and while still warm we cut it into small pieces – when it dries, it’s hard to do . The second component is charcoal – break into small pieces , the third perlite and the fourth expanded clay (keramzit) – this goes at the bottom of the pot as a drainage layer (we can replace it with polystyrene).
Put expanded clay at the bottom of the pot and then the substrate mixed from these 3 components. The pot should be sized so that the plant has 1-2 cm of free space on each side.
Position the orchid in the pot so that the crown is level with the rim of the pot. Do not press it down and do not water for 4-5 days after repotting.