


Latest recipes
All recipes


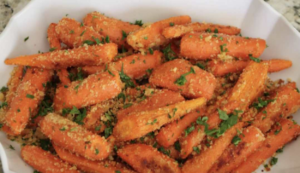
Roasted carrots with a garlic mix: tastier than fries and ready in no time
side dishes
40 minutes

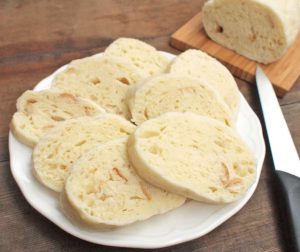
Miraculous skillet bread: ready in minutes and so good you’ll make it over and over
baked goods
25 minutes