Article content
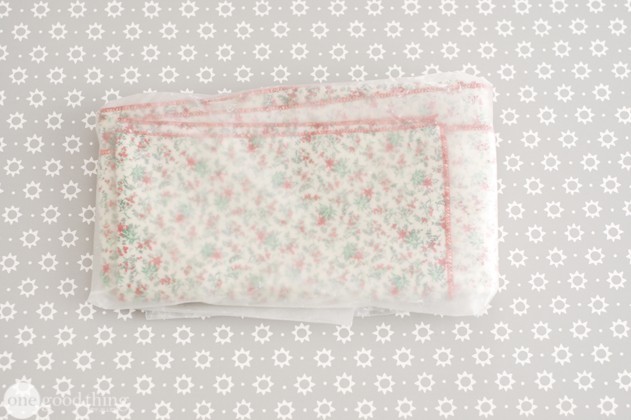
If you like baking homemade treats, baking paper is surely an essential item in your home too. Thanks to the paper you prevent the dough from sticking and burning on the tray and at the same time the tray stays clean and is much easier to clean after baking.
Have you, however, thought about the fact that baking paper can be used in a way to get the most out of it when baking?
Maybe it has even happened to you that the paper started to smell unpleasant during baking or even burned in some places (the smell can easily ruin the baked goods). Or maybe you notice that when you use paper baking always seems to take longer, or the food isn’t sufficiently cooked? Did you know that you only need to know a small trick used by clever housewives and when baking with paper the pastries will be softer, moister and the baking time will be shorter?
Try it like this!
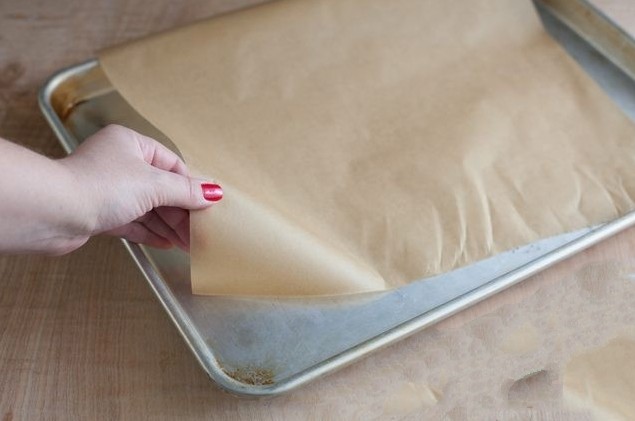
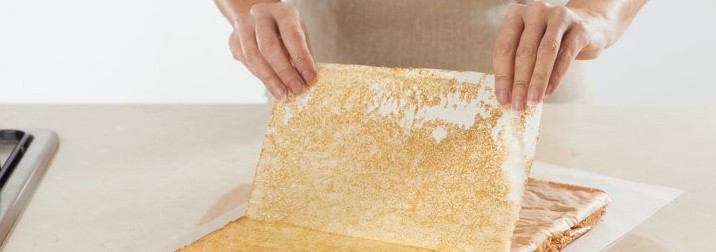
The first step is instead of placing dry paper on a dry tray, to moisten the paper a little first. Thanks to this small change you ensure better heat retention during baking and therefore you will need less time than you are used to. Also after baking it will be much easier to peel soft dough off the paper.
The second step is to moisten the baking tray with a little water. Crumple the baking paper in your hands and then straighten it on the moistened tray. According to housewives, thanks to this trick the pastries are softer after baking and therefore tastier. At the same time they bake well in all places.
How else to use baking paper?
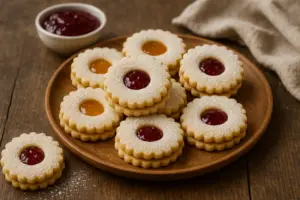
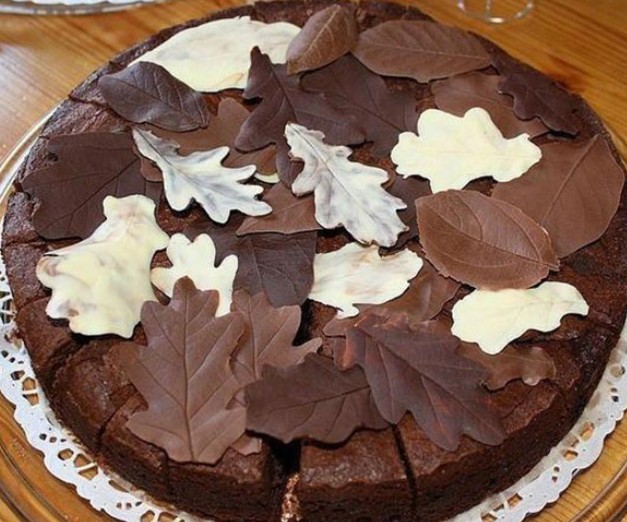
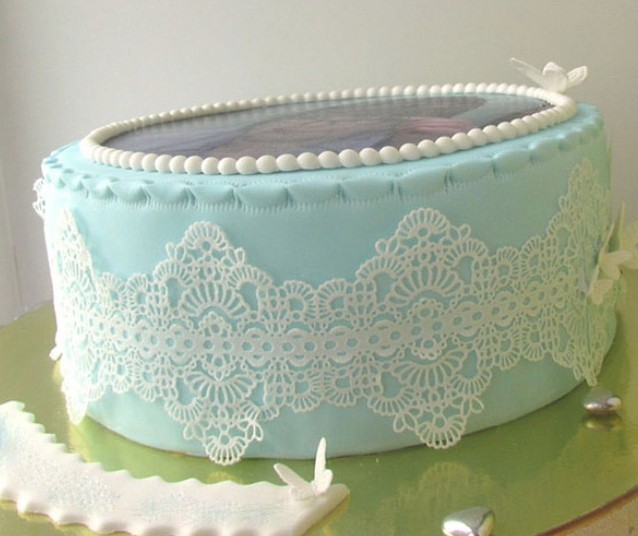
Beautiful cake decoration
we need:
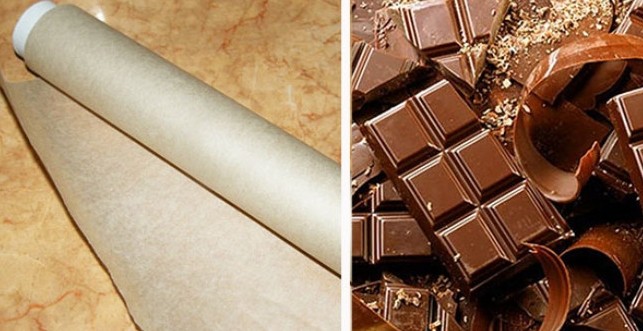
- baking paper
- 1 to 2 bars of chocolate.
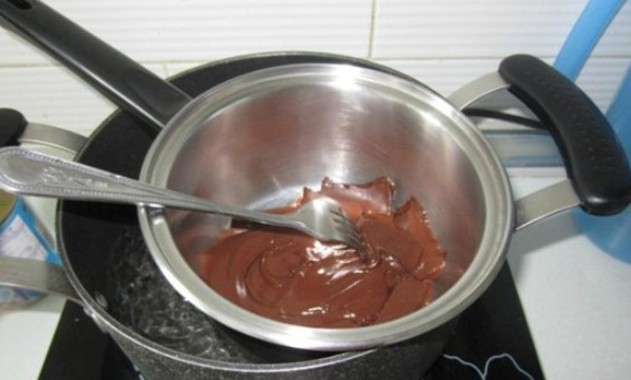
Chocolate decoration works best when the surface of the dessert is flat. If the cake is covered with dark chocolate, choose white decoration and vice versa, the decorations will stand out beautifully that way. To start, chop the chocolate into small pieces and place it in a dry bowl over a water bath to melt it. Be careful not to have lumps in the mixture, because you won’t be able to work with them. Keep stirring the chocolate to obtain a homogeneous mass.
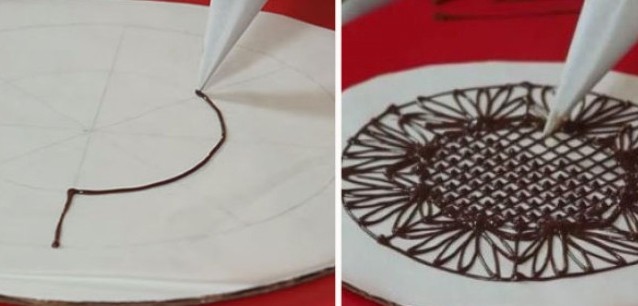
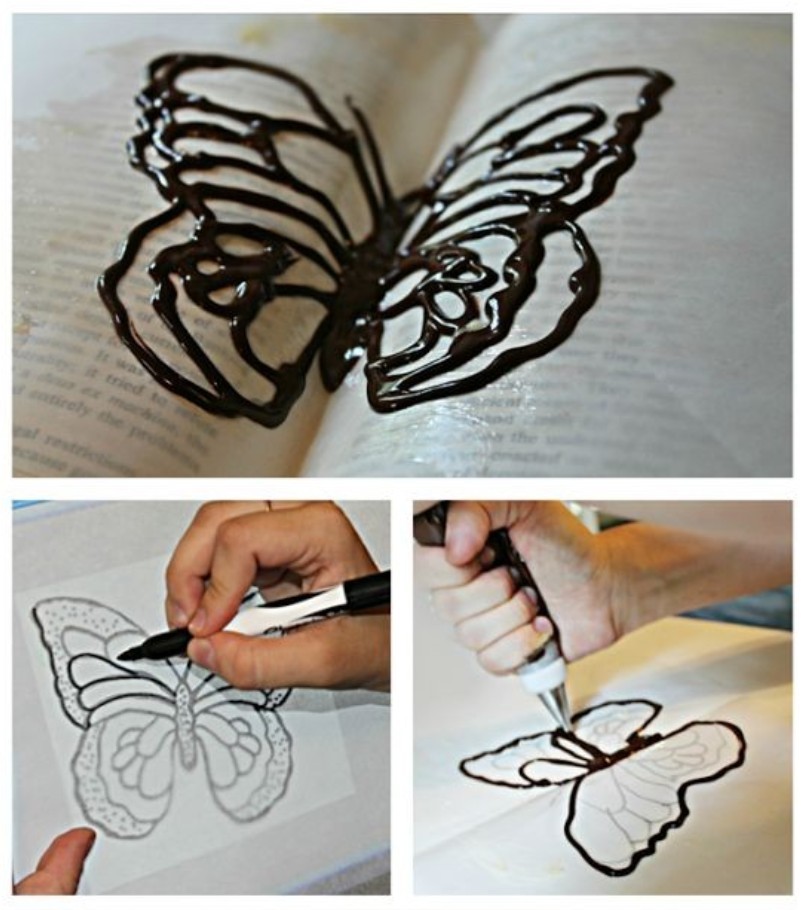
There are several types of decoration. First we make a decorating pouch from baking paper – it’s the absolute best helper. And make only a really tiny hole for the chocolate. Pour the melted chocolate into the pouch and draw as you would with a regular pen. The smaller the hole in the bag, the finer detail you can do. Start drawing patterns by slowly squeezing the baking bag.
Those who have no experience with decorating will find the biggest help in baking paper. Place it over a sheet of paper with any printed pattern. Trace it, let it harden and then simply transfer it onto the cake – of course carefully, but remember that imperfections can be corrected with melted chocolate.
Separate the hardened chocolate from the paper with the blade of a knife and then just place it on the part of the cake you want to decorate.
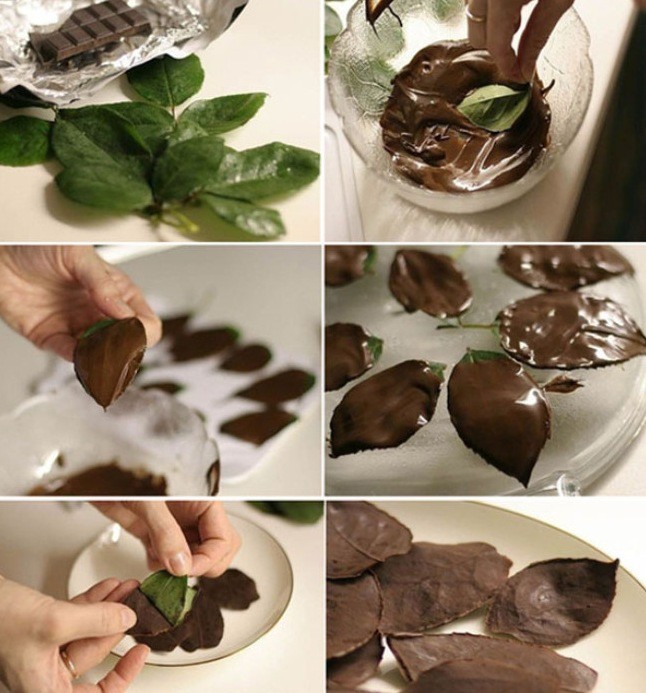
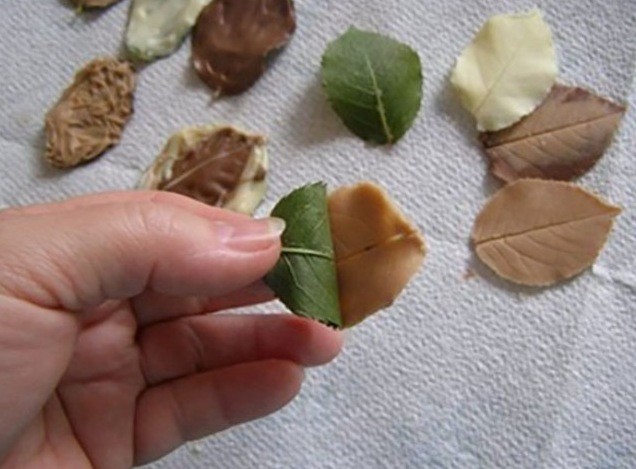
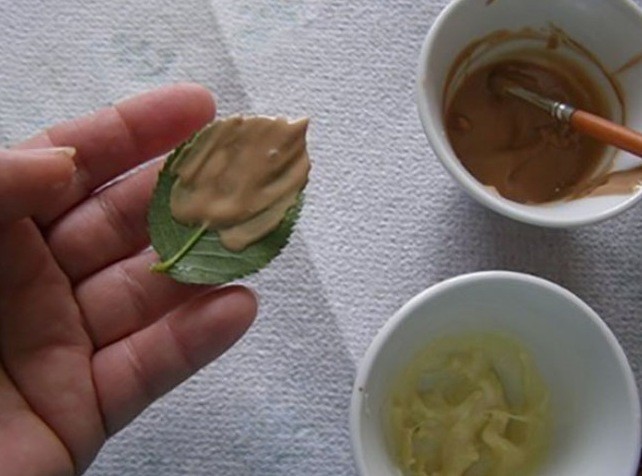
The following method is not the easiest, but it’s worth trying – the effect is amazing. We will need washed and dried leaves. First chop the chocolate, place it over a water bath, melt it and apply it to a clean, dry leaf using a brush. Put the chocolate-covered leaves into the fridge for one hour and then carefully remove them from the leaves.
The easiest decoration is a web, which can be made from white or dark chocolate. Make a funnel from baking paper and create this simple pattern on the surface of the cake – simple and very effective.
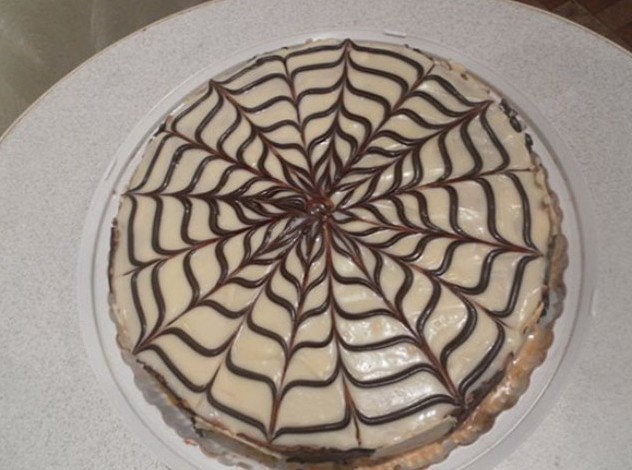
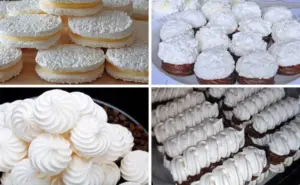
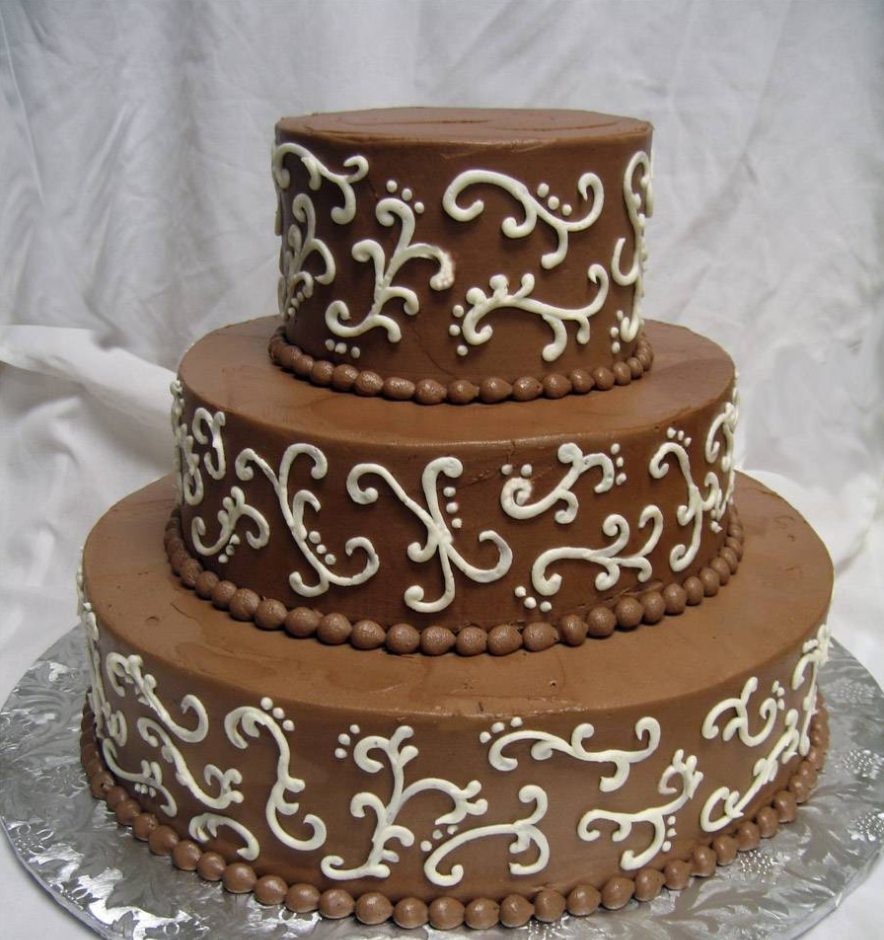
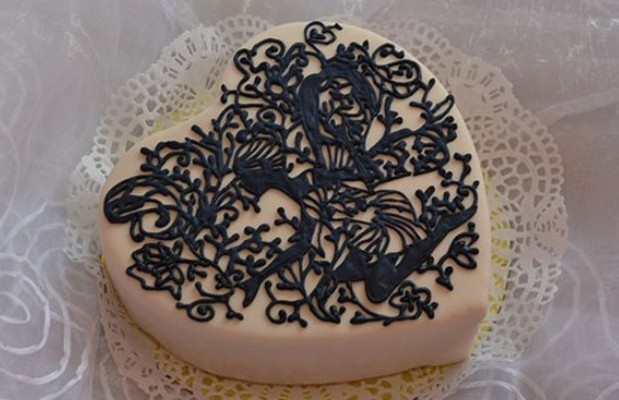
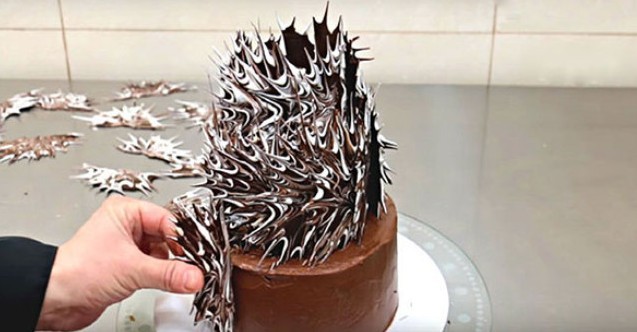
Now we would like to show you some photos of decorations made from chocolate and baking paper. Simply fantastic!

How to use baking paper around the house?
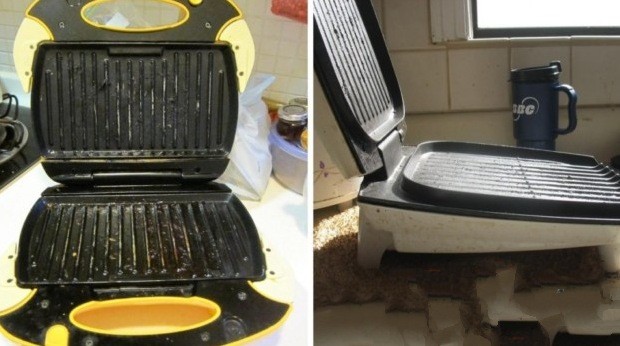
You will never again have to clean a burnt toaster or peel off Teflon!

Just insert a piece of paper into the toaster so that the bread does not touch the surface at all. Simply close and prepare as usual – the only difference is that you have to leave it toasts a little longer so the bread gets crispy. Then just remove it with the paper and voila – no melted cheese, no burnt residues and the toaster still looks like new!
Every pan will instantly have a non-stick surface and you won’t need any fat
If you don’t have a non-stick pan available, preparing some types of dishes can be problematic. Constantly watching to make sure the food doesn’t burn, however, need not be your case anymore. We bring you a simple trick that top chefs also use when preparing dishes. The only thing you have to do is place ordinary baking paper on the surface of any pan. Make sure it really works!
Video
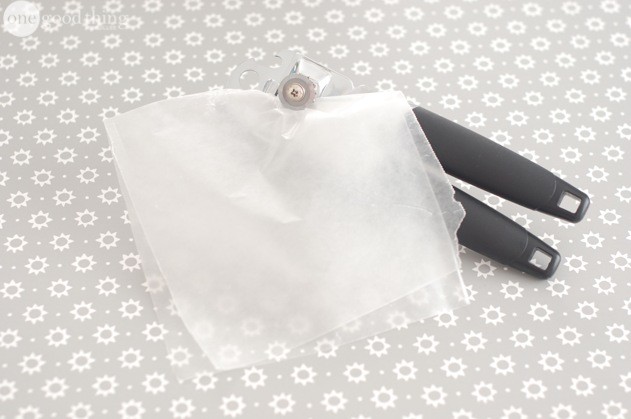
Cleaning unit
You can perfectly clean can openers with it. Just insert the paper where you insert the edge of the can and rotate it several times. Besides effectively cleaning it, the waxed surface will prevent quick buildup of further dirt.
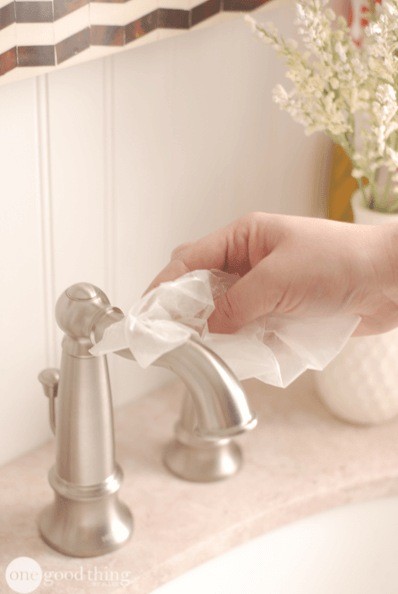
Protects against limescale and dried water drops – faucets will shine like never before!
Waxed baking paper can also be used to maintain a beautiful shine on faucets. Just rub a clean faucet with the paper. The wax will form a protective layer that repels water. Similarly it protects the surface from corrosion.
What else can it do?
For a stuck zipper, just run the waxed surface along the zipper from both sides and the zipper will open and close completely easily.
Wrap cheese or bacon in baking paper – you’ll be surprised how long these foods will stay fresh in the fridge.
Great for starting a fire
If you have baking paper at home, you don’t need any other fire-starting aids. Moreover, paper burns slowly and reliably, so you don’t have to worry about the heat in your family fireplace.

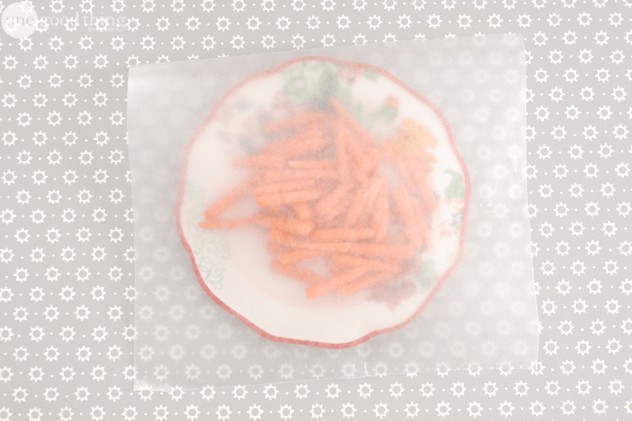
Put it in the microwave
Before you put food in the microwave, cover it with baking paper. This will prevent splashes and contamination of the microwave interior.
Protects fabrics
Baking paper protects fabric from moisture and fading. Wrap your favorite laundry or precious pieces of fabric in it. The paper will perfectly protect the fabric.