This is what you should do with geraniums in the autumn! Attention, many people don't know about this!
Geraniums are among the most popular flowers on balconies and in gardens, but with the arrival of autumn the question arises of how to successfully overwinter them. Since the prices of geraniums are rising year after year, it's good to know how to overwinter these beautiful plants and save money at the same time. There are three proven methods to keep geraniums through the winter, but each of them has its advantages and disadvantages.
1) Overwintering the entire plant
One option is to overwinter geraniums as whole plants. This method requires a bright room with a temperature between 6 and 8 °C and minimal watering. The soil should not be completely dry, but certainly not waterlogged. However, this method is not without risk – many plants may not survive the winter. If you do have suitable conditions, it's worth trying this method at least once.
2) Harvesting and repotting
Another option is to carefully pull the geraniums out of the ground, trim their roots and shoots, and then plant up to 15 stems together in one larger pot. This pot can even be stored in a dark room, but you must ensure that the room is not exposed to frost. In the spring you can then replant the stems individually into the ground. This method allows you to keep more plants, but it also requires more work and care.
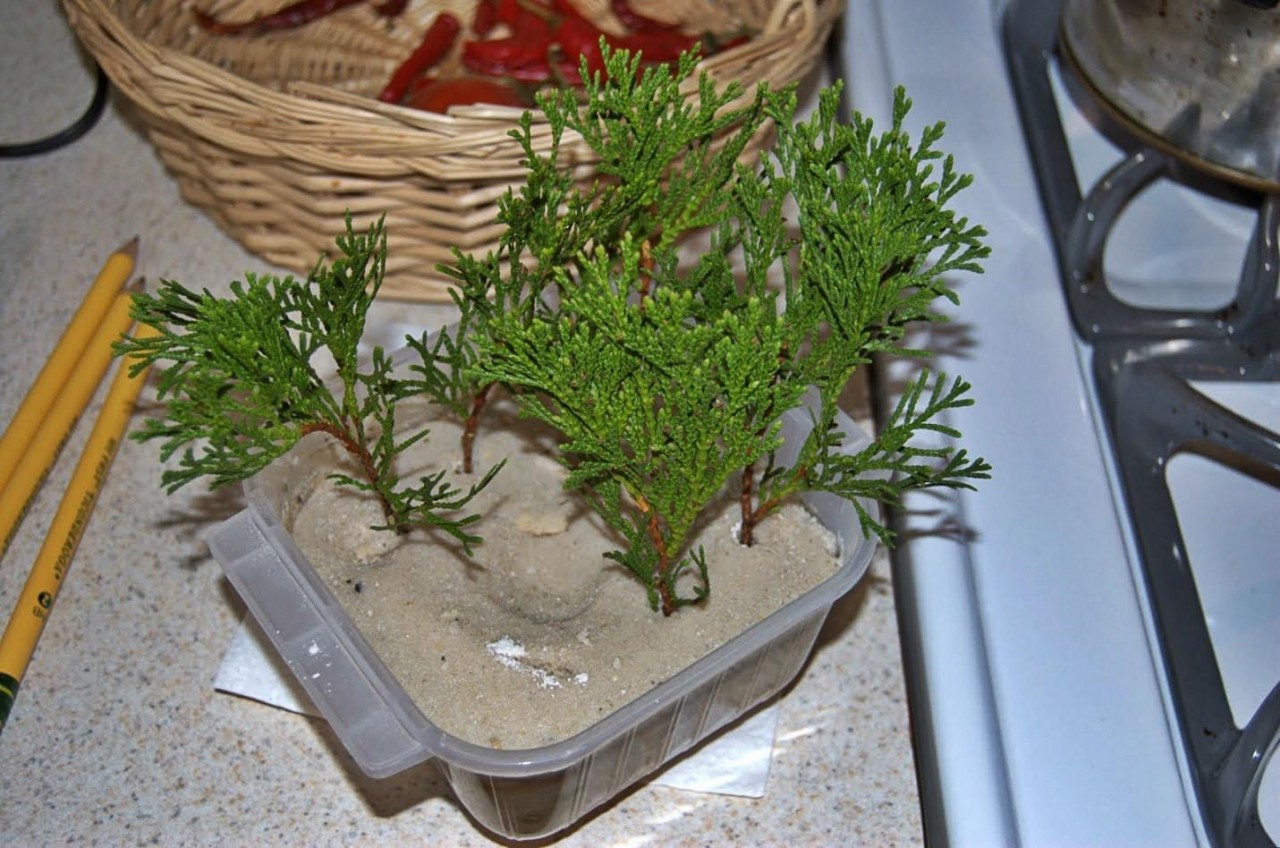
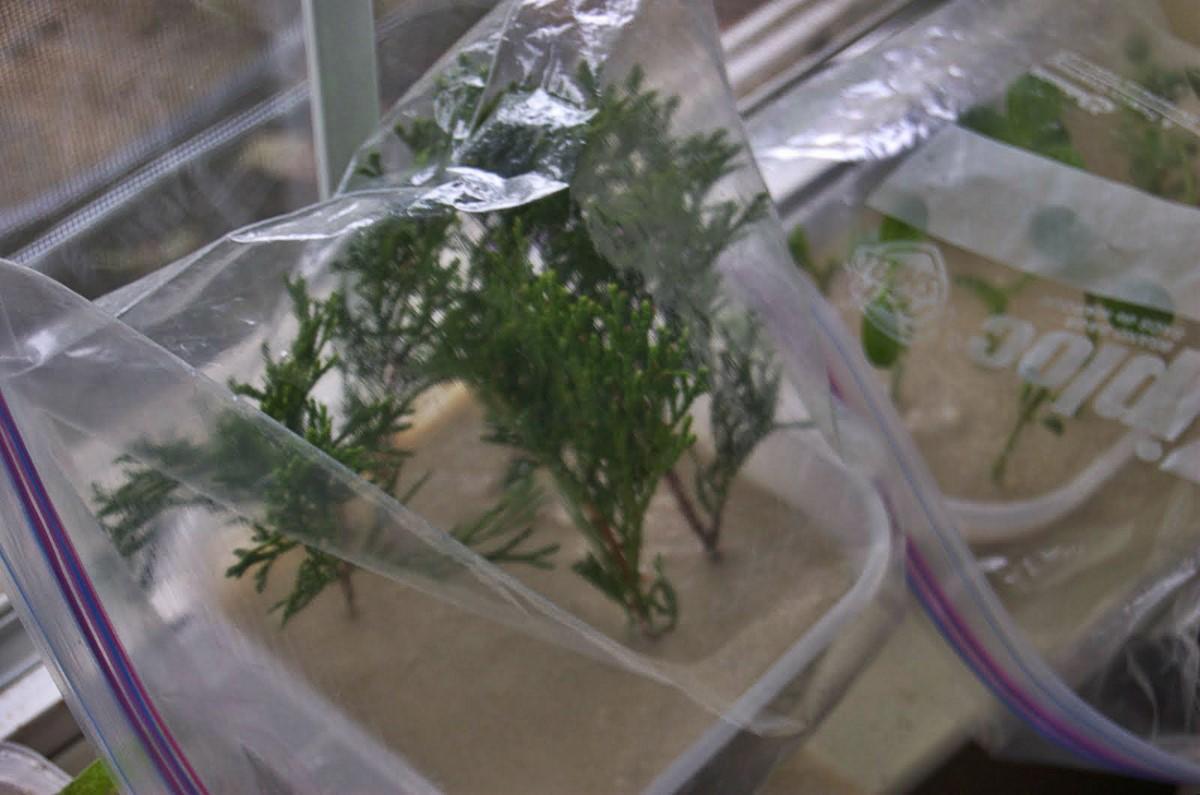
3) Cutting and rooting shoots
The third method is taking cuttings. In autumn, during September to October, cut shoots from the flowering geranium stems and plant them into small pots or sour cream cups. Place them in a bright and warm spot, for example on a windowsill. By January they should have rooted and strengthened, and in spring they may even start to bloom. This method is popular for its simplicity and effectiveness, but you must take into account that cuttings require careful care in order to survive the winter.
Disadvantages of each method
Each of these methods has its drawbacks. With overwintering the entire plant there is a risk that many geraniums will not survive, and those that do may be too tired in the spring to flower. The plants often only develop by mid-summer. With the second method you need to consider that repotting and harvesting stems can be labor-intensive and it's not guaranteed that all the plants will survive the winter. With cuttings, increased attention must be paid to the care of the rooted shoots, otherwise they could damage the windowsill or other places where they are stored.
If you choose one of these methods, you'll have beautiful and healthy geraniums again in the spring that will delight you with their abundant blooms. And most importantly – your wallet will hardly notice it!