Great trick for gardeners: How to easily propagate thuja
Propagating thuja from branches is a great way to easily create new plants that will take root well and look like healthy, beautiful conifers. This simple method will show you how to turn one branch into a seedling that will grow like a fairy tale.
When to cut a branch for planting
One of the key questions when propagating thuja is when it is best to take cuttings. Different gardeners have different opinions: some recommend February, others prefer March. In general, cuttings can be taken all year round, but the best time is in spring or autumn. Avoid summer, when the plant is actively growing and producing new shoots.
How to cut a branch for planting
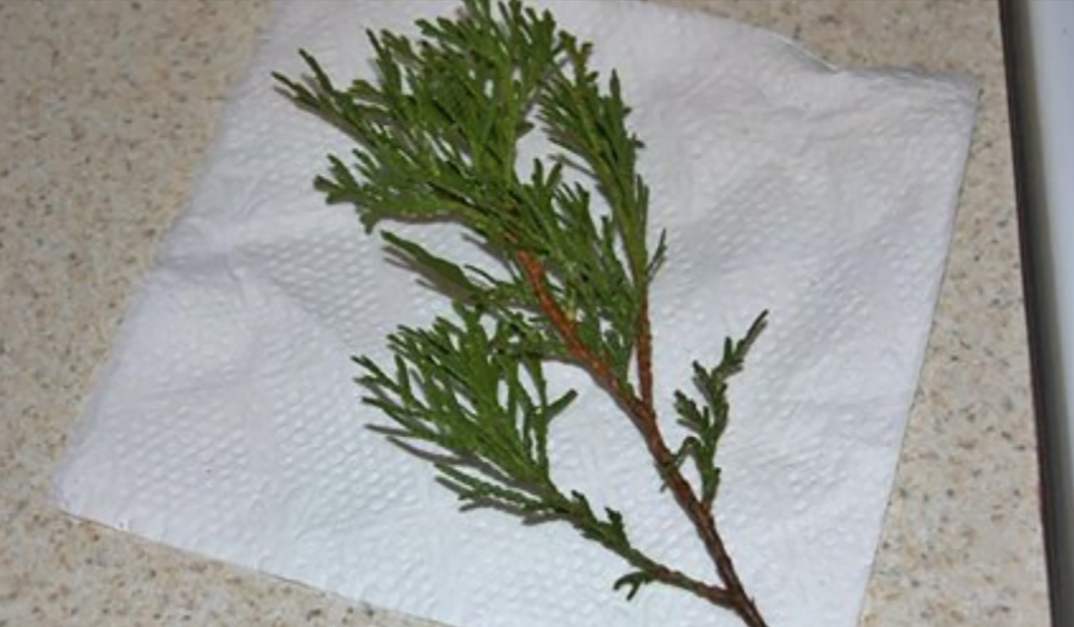
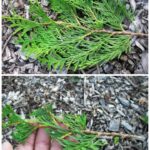
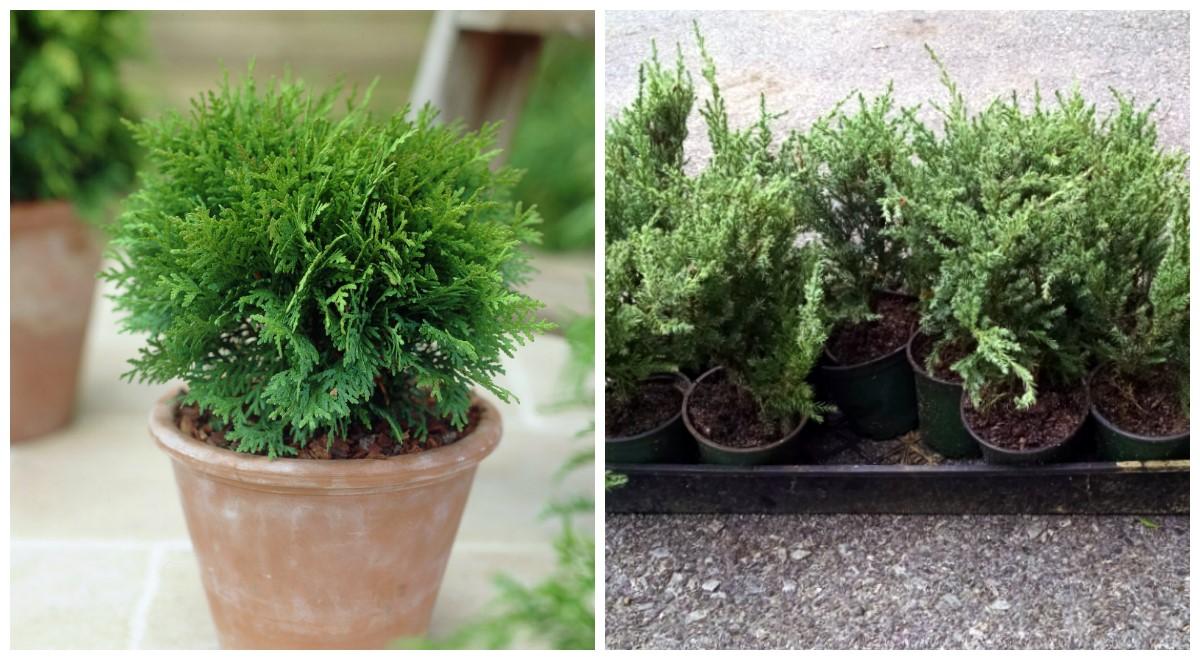
Choose the right tree: Select a large, healthy thuja tree. Focus on a strong branch in the upper part of the tree that you will break off. It is important that the branch comes from the top, because cuttings from side branches may have a worse shape and proportions.
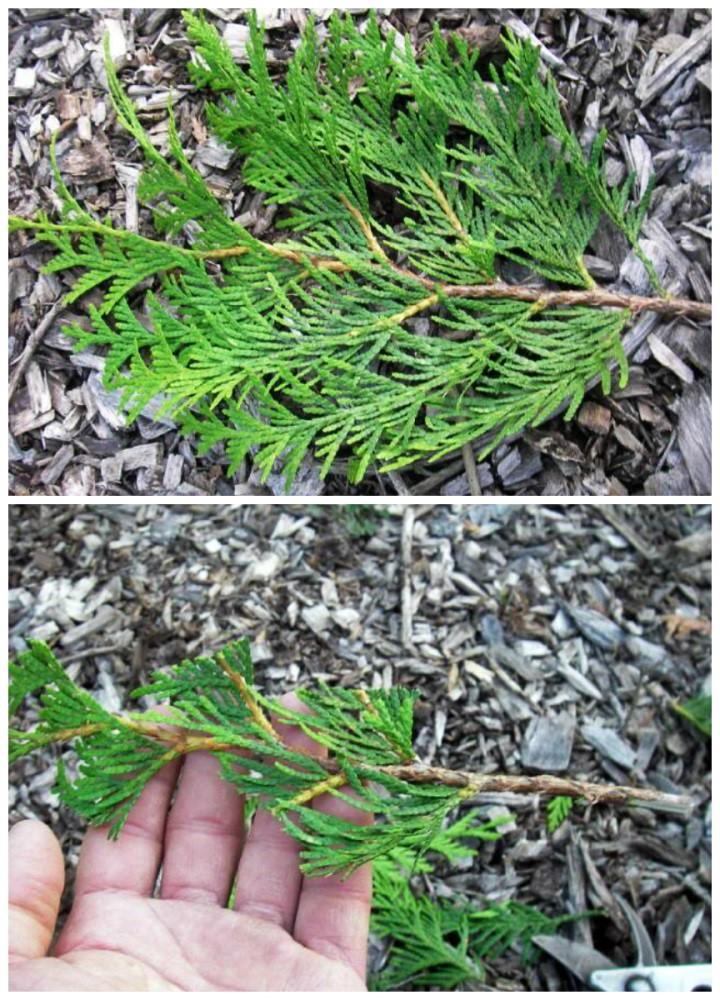
Breaking off the branch: The branch should be about 10–15 cm long. If the branch is very thick, you can cut it with garden shears. Try to break it off in one smooth motion to avoid damage.
How long you can store the branch before planting
Ideally, the branch should be planted immediately after cutting. If you cannot plant it right away, wrap it in a damp cloth and place it in a cool spot until you can get to it.
Preparing the cutting
Treating with rooting hormone: The cutting must be treated with rooting hormone before planting. A product called Incit is available in garden stores. Moisten the thuja branch, dip it into the rooting hormone powder, and gently shake off the excess.
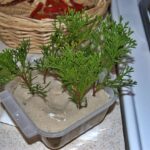
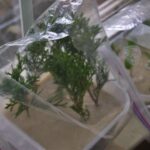
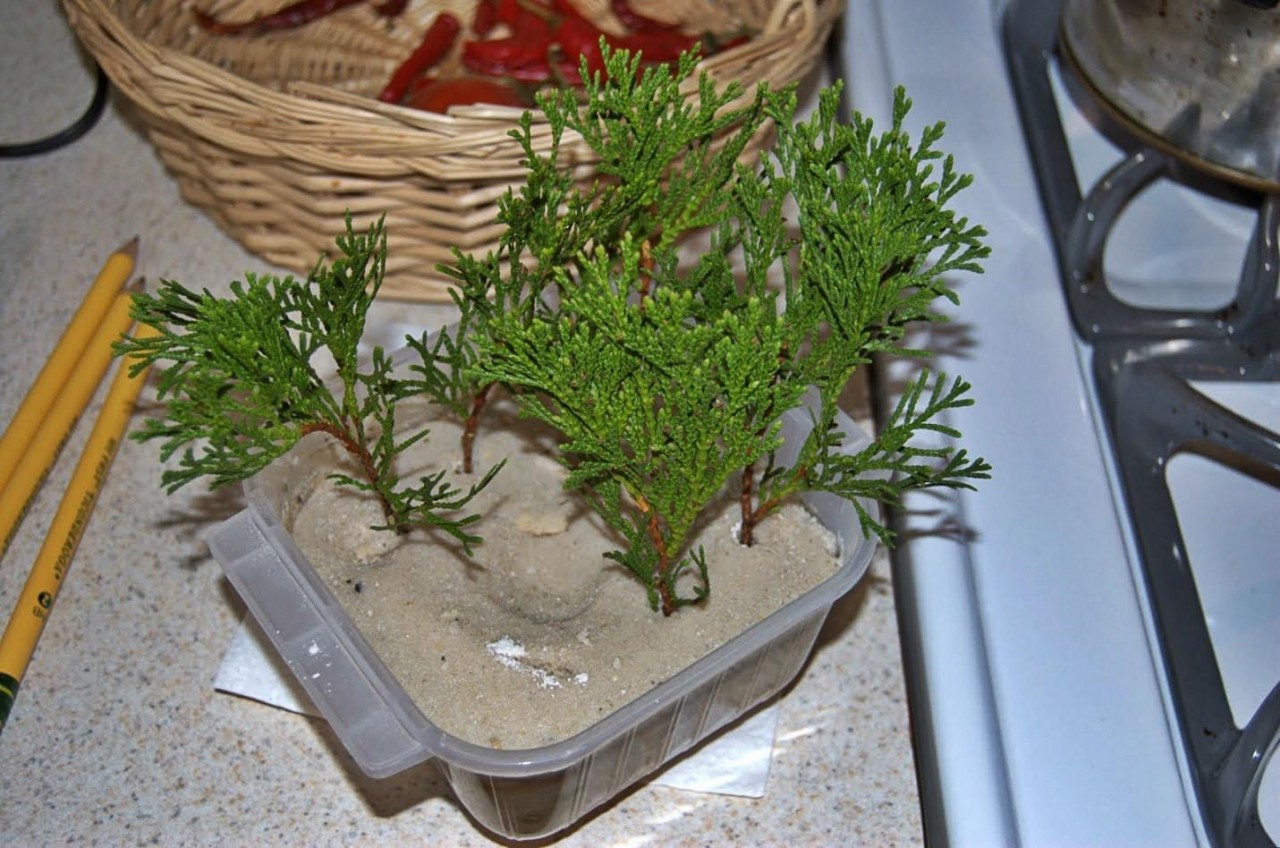
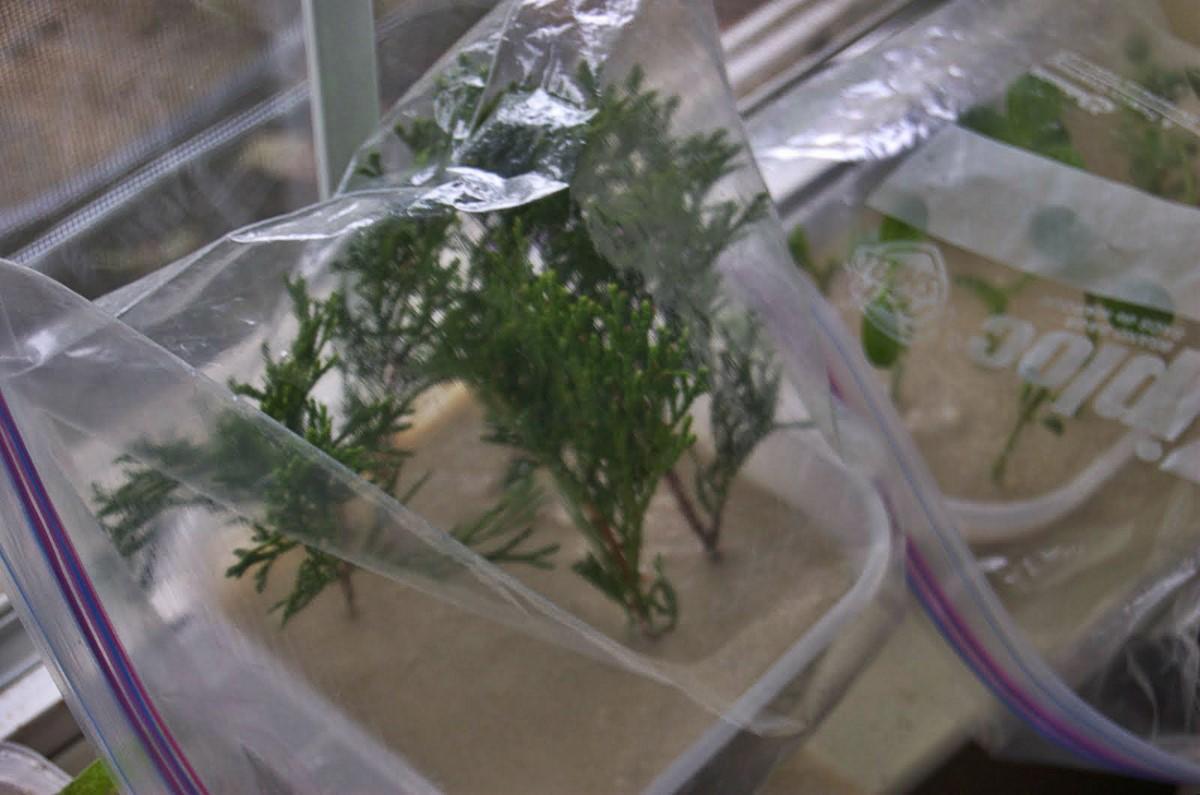
Planting: Choose a flowerpot or plastic box with several holes in the bottom so the soil can drain well. Prepare a mixture of peat and sand and make a small hole in it to insert the cutting. It should be planted about 2 cm deep.
Caring for the cutting: Cover the pot with a jar or a plastic bag to maintain humidity. Place it in a warm, bright spot. Keep the soil moist but not waterlogged.
Transplanting and growth
Watering: Once the top layer of soil dries out, water it. Make sure the soil is not waterlogged, as excessive moisture can be harmful.
Transplanting: After approximately two weeks, move the cuttings into individual pots so they have enough room for further growth. It is ideal to grow thuja for 1–2 years in a warm place, for example in an apartment or a polytunnel, before planting them in their final spot in the garden.
Conclusion
Propagating thuja from branches is a simple and effective way to enrich your garden with new beautiful plants. Follow these steps and soon you will have beautiful, healthy thuja that will become the ornament of your garden or terrace. Enjoy the satisfaction of your own work and look forward to the results your gardening will bring!
Množení tújí z větví je skvělý způsob, jak si snadno vytvořit nové rostliny, které se krásně ujmou a budou vypadat jako zdravé a krásné jehličnany. Tento jednoduchý postup vám ukáže, jak z jedné větve vytvořit sazenici, která poroste jako z pohádky.
Kdy odříznout větev pro výsadbu
Jednou z klíčových otázek při množení tújí je, kdy je nejlepší odebrat řízky. Různí zahrádkáři mají různé názory: někteří doporučují únor, jiní preferují březen. Obecně lze řízky odebírat po celý rok, ale nejlepší období je na jaře nebo na podzim. Vyhněte se létu, kdy rostlina aktivně roste a raší.
Jak uříznout větev pro výsadbu
Vyberte správný strom: Zvolte velký a zdravý strom túje. Zaměřte se na silnou větev v horní části stromu, kterou budete odlamovat. Je důležité, aby větev pocházela z horní části, protože řízky z bočních větví mohou mít horší tvar a proporce.
Odlamování větve: Větev by měla být dlouhá přibližně 10-15 cm. Pokud je větev velmi tlustá, můžete ji odříznout zahradnickými nůžkami. Snažte se ji odlamovat jedním plynulým pohybem, aby nedošlo k poškození.
Jak dlouho můžete skladovat větev před výsadbou
Ideálně by měla být větev vysazena ihned po odříznutí. Pokud nemáte možnost ji zasadit hned, zabalte ji do vlhkého hadříku a umístěte na chladné místo, dokud se k tomu nebudete moci dostat.
Příprava řezu
Ošetření zakořeňovacím hormonem: Řízek musí být před výsadbou ošetřen zakořeňovacím hormonem. V obchodech pro zahrádkáře je k dispozici přípravek Incit. Navlhčete větev túje, ponořte ji do prášku zakořeňovacího hormonu a jemně setřeste přebytek.
Výsadba: Vyberte květináč nebo plastovou krabici s několika otvory na dně, aby mohla půda dobře odtékat. Připravte směs rašeliny a písku a v ní udělejte důlek, do kterého vložte řízek. Měl by být zasazen asi 2 cm hluboko.
Péče o řízek: Květináč přikryjte sklenicí nebo igelitovým sáčkem, aby se udržela vlhkost. Umístěte na teplé a světlé místo. Půdu udržujte vlhkou, ale ne přelitou.
Přesazování a růst
Zalévání: Jakmile se vrchní vrstva zeminy vysuší, zalijte ji. Dbejte na to, aby půda nebyla přelita, protože nadměrná vlhkost může být škodlivá.
Přesazování: Po přibližně dvou týdnech přesuňte řízky do samostatných květináčů, aby měly dostatek prostoru pro další růst. Tuje je ideální pěstovat 1–2 roky na teplém místě, například v bytě nebo ve fóliovém stanu, než je vysadíte na definitivní místo na zahradě.
Závěr
Množení tújí z větví je jednoduchý a efektivní způsob, jak si obohatit zahradu o nové krásné rostliny. Postupujte podle těchto kroků a za chvíli budete mít krásné zdravé túje, které se stanou ozdobou vaší zahrady nebo terasy. Užijte si radost z vlastní práce a těšte se na výsledky, které vám vaše zahradničení přinese!
Ideally, the branch should be planted immediately after cutting. If you cannot plant it right away, wrap it in a damp cloth and place it in a cool spot until you can get to it.
Preparing the cutting
Treating with rooting hormone: The cutting must be treated with rooting hormone before planting. A product called Incit is available in garden stores. Moisten the thuja branch, dip it into the rooting hormone powder, and gently shake off the excess.
Planting: Choose a flowerpot or plastic box with several holes in the bottom so the soil can drain well. Prepare a mixture of peat and sand and make a small hole in it to insert the cutting. It should be planted about 2 cm deep.
Caring for the cutting: Cover the pot with a jar or a plastic bag to maintain humidity. Place it in a warm, bright spot. Keep the soil moist but not waterlogged.
Transplanting and growth
Watering: Once the top layer of soil dries out, water it. Make sure the soil is not waterlogged, as excessive moisture can be harmful.
Transplanting: After approximately two weeks, move the cuttings into individual pots so they have enough room for further growth. It is ideal to grow thuja for 1–2 years in a warm place, for example in an apartment or a polytunnel, before planting them in their final spot in the garden.
Conclusion
Propagating thuja from branches is a simple and effective way to enrich your garden with new beautiful plants. Follow these steps and soon you will have beautiful, healthy thuja that will become the ornament of your garden or terrace. Enjoy the satisfaction of your own work and look forward to the results your gardening will bring!